
Sheep to sweater, Part I
This is the first in a series of posts about the entire process making a knitted garment out of a raw sheep's fleece. In this first part, we'll focus on processing raw wool: skirting, scouring, sorting, and carding to get the fiber ready for spinning. If it sounds like a lengthy process, that's because it is. But it's not undoable. This is slow fashion in action: exploring alternatives to unsustainable fast fashion, one item of clothing at a time.

The best of sweaters begin this way — with a visit to a sheep farmer and her sheep.
I met farmer Sebette and her flock of Cormo sheep earlier this year through my carbon farm planning work. As the temperatures began to drop and we were looking at a winter of mostly staying at home, I decided it was time for another sheep-to-sweater project. So my daughter and I headed over to Wooly Ridge Farm to visit Sebette and her sheep, and came back with a fluffy 5.4 lb bag of white wool from a small Cormo sheep named Snow Flurry.
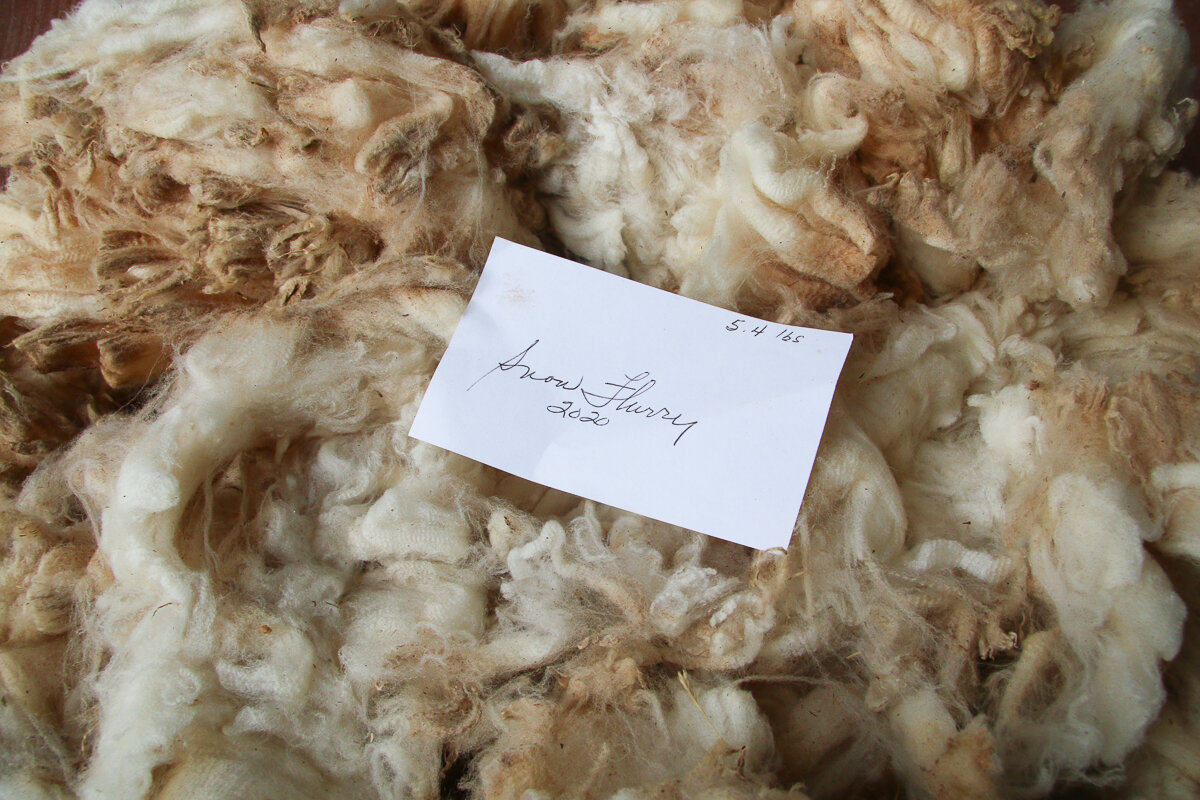
The name tag on the wool is a reminder that this wool comes from a living, breathing, warm animal whose heartbeat, along with the grasses on the pasture, made this wool grow. Here and there among these finely crimped, soft fibers are little bits of grass, seeds, and burrs that tell the story of this sheep's wanderings in the pasture. And this entire billowing mass of wool still carries the smell of the animal and the barnyard. There's nothing like working with raw wool to fully feel our fibers' and clothing's connection to land.
First step in Processing Raw Wool: Skirting the Fleece
The first step is called skirting the fleece: going through the entire fleece and cutting off the dirtiest bits. As you see in the picture above, the raw fleece has a fair amount of dirt on it. Take the entire raw fleece and lay it on the floor or a table, and cut out all the very dirty wool on the edges of the fleece. The underside of the sheep is obviously going to have the most dirt and crud. This is where you should also remove as much plant matter -- seeds, bits of grass, burrs -- as you can. Use the sharpest scissors you have!
Washing/Scouring the Wool
The goal of scouring the wool is to remove both the remaining dirt and the lanolin, the natural wax that's on the wool. You could of course opt for spinning in the grease, which is much less work and results in a very natural-looking and semi-waterproof garment. But most people prefer to spin scoured wool.
To wash the wool, you first have to separate the fleece into smaller bits and bag them in mesh bags to contain the wool. I've used small squares of tulle, made into little bundles closed with rubber bands, as well as larger mesh bags with zippers that I also use for dyeing. The smaller bags are more tedious and time-consuming to prepare, but result in cleaner wool.
Now, for the washing part. This guide to washing the wool is among the most thorough and at the same time easiest to follow, in my opinion.
Here are the key points to keep in mind:
To remove the lanolin, the water must be hot hot hot -- 140 to 160 F -- for the entire soaking time
You must not agitate the wool at all while it's in hot water, otherwise it gets felted. Drastically changing the water temperature will also cause felting.
Optional: you can pre-soak the wool before washing to remove more of the dirt. Soak for up to 24 hours in cold water, then drain.
Soap: There are special scouring soaps; otherwise you can use regular dishwash detergent, provided that it cuts grease. How much to use? The internet gives maddeningly varying answers. I did a few squirts of dishwashing detergent following the Woolery's guideline, "enough to make the water feel slippery."
Scouring time: 30 minutes. If the wool is very dirty, do two rounds of washing.
One option is to use a washing machine to soak and spin the wool. Note: you absolutely can't let the washing machine wash, i.e. agitate, the wool, otherwise it will felt. You fill the tub first with hot water, then add detergent, and then carefully lower down the wool to soak for 30 minutes. Then spin.
Your second option is soaking the wool in a bathtub or a sink (scrubbed clean, of course). This makes it much easier to manage the temperature of the water. Keep big pots of extra hot water simmering on the stove in case your water heater doesn't make it hot enough. Again, the washing water has to be minimum 140 F to remove the lanolin, and must stay that hot until the end of the 30 minutes soaking period -- otherwise the lanolin might get re-absorbed into the wool.
Let the wool sit in the hot, soapy water for 30 minutes. Then gently squeeze out the hot water out.
Rinse: fill the tub again with hot water — this time the water doesn't have to be quite as hot. Gently lower the wool in again and let sit for 30 minutes, then drain. If the water is very soapy, do a second rinse.
Gently squeeze the water out of the wool bundles again and lay them out to drain and dry. An old door or window screen, or hardware cloth laid on top of a drying rack works well.

When most of the water has drained, I move the wool bundles onto a towel, and when they've dried some more, take them out of the mesh bags.
Carding the Wool
One of the most labor-intensive parts of processing raw wool is now done!
When the wool is completely dry, you can begin carding or combing the wool. This is where you achieve those fluffy, light rolls of wool that are easy to spin because the fibers are all aligned.

I use hand carders. A carding machine is amazing if you're more of a pro — but if that's the case, you probably already have one.
The key to carding, in my experience, is to do small amounts at a time. It's tempting to stuff the hand carder with all the wool you can fit... but the result won't be as smooth. Slow and steady — remember, this is slow fashion! You might as well brew a cup and light a fire and take your time. Carding is one of those activities that involve repetitive movements, just like knitting, and can feel incredibly relaxing and soothing because you're fully absorbed in slowly and methodically doing just one thing, over and over again.
Because you really need to see it in action, here's a video tutorial of carding with hand carders.
Now you're ready to start spinning! To be continued, in Sheep to Sweater Part II!