
Handmade natural beeswax candles
These are pretty dark days. Let's make some light!
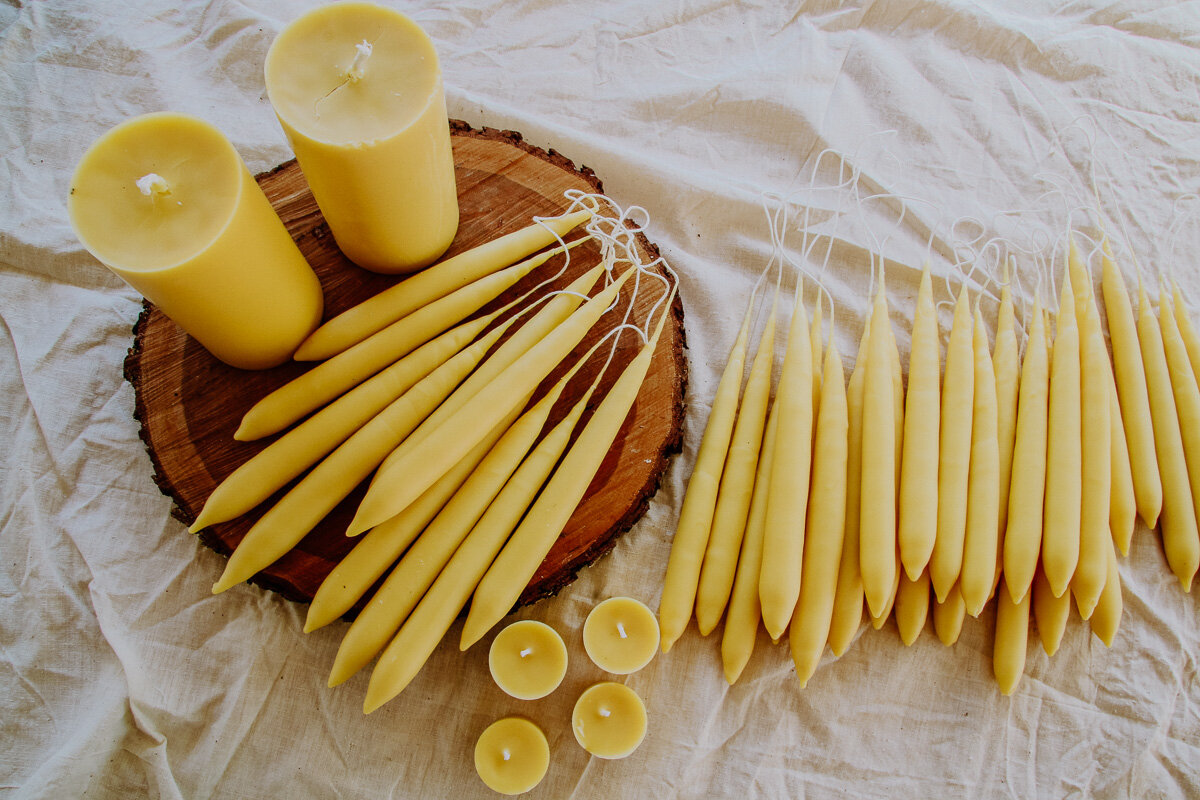
If you’ve never made natural beeswax candles before, now is a great time to give it a try.
DIY beeswax candles add magic and comfort to your fall and winter nights. You can also save money by making your own. But it's not just about the end result. The process of making candles itself is calming, almost meditative: you’re in a warm kitchen, fragrant with the grounding scent of beeswax, slowly dipping tapers in molten wax one after another until, layer by layer, they become beautiful, thick, smooth candles.

Materials:
This is what you'll need to make a dozen pairs of taper candles and a couple of large pillar candles:
3 lbs beeswax
3 lbs soy wax
stearic acid
wicking: thick square braided wick for pillar candles, #2/0 Square Braid Cotton Wicking for taper candles, individual 3-4" waxed wicks for small votive or container candles
for pillar candles: something to seal the wick hole at the bottom of the mold (I use QuakeHold museum putty or Play-Doh)
A word about waxes: I can only speak to making candles with natural beeswax and soy wax — I’ve never made candles with paraffin. I've made candles with 100% beeswax, but the last few years my preference has been 50% beeswax and 50% soy wax. The candles turn out a lovely light yellow color, and the soy wax also lowers the total cost as natural beeswax is not cheap.
Different waxes behave differently. Soy wax is softer than beeswax. It can still be used for dipping tapers, but it needs a longer drying time between layers.
If you can find a local source of beeswax, consider yourself lucky. Failing that, here are some online stores specializing in candle making supplies:
Equipment:
a pouring pot or dipping vat dedicated to melting wax
a large pot to set up a double-boiler (get a cheap used stock pot at a thrift store)
molds: aluminum pillar candle mold for pillar candles, or small votive molds for votive candles
Preparing to make candles
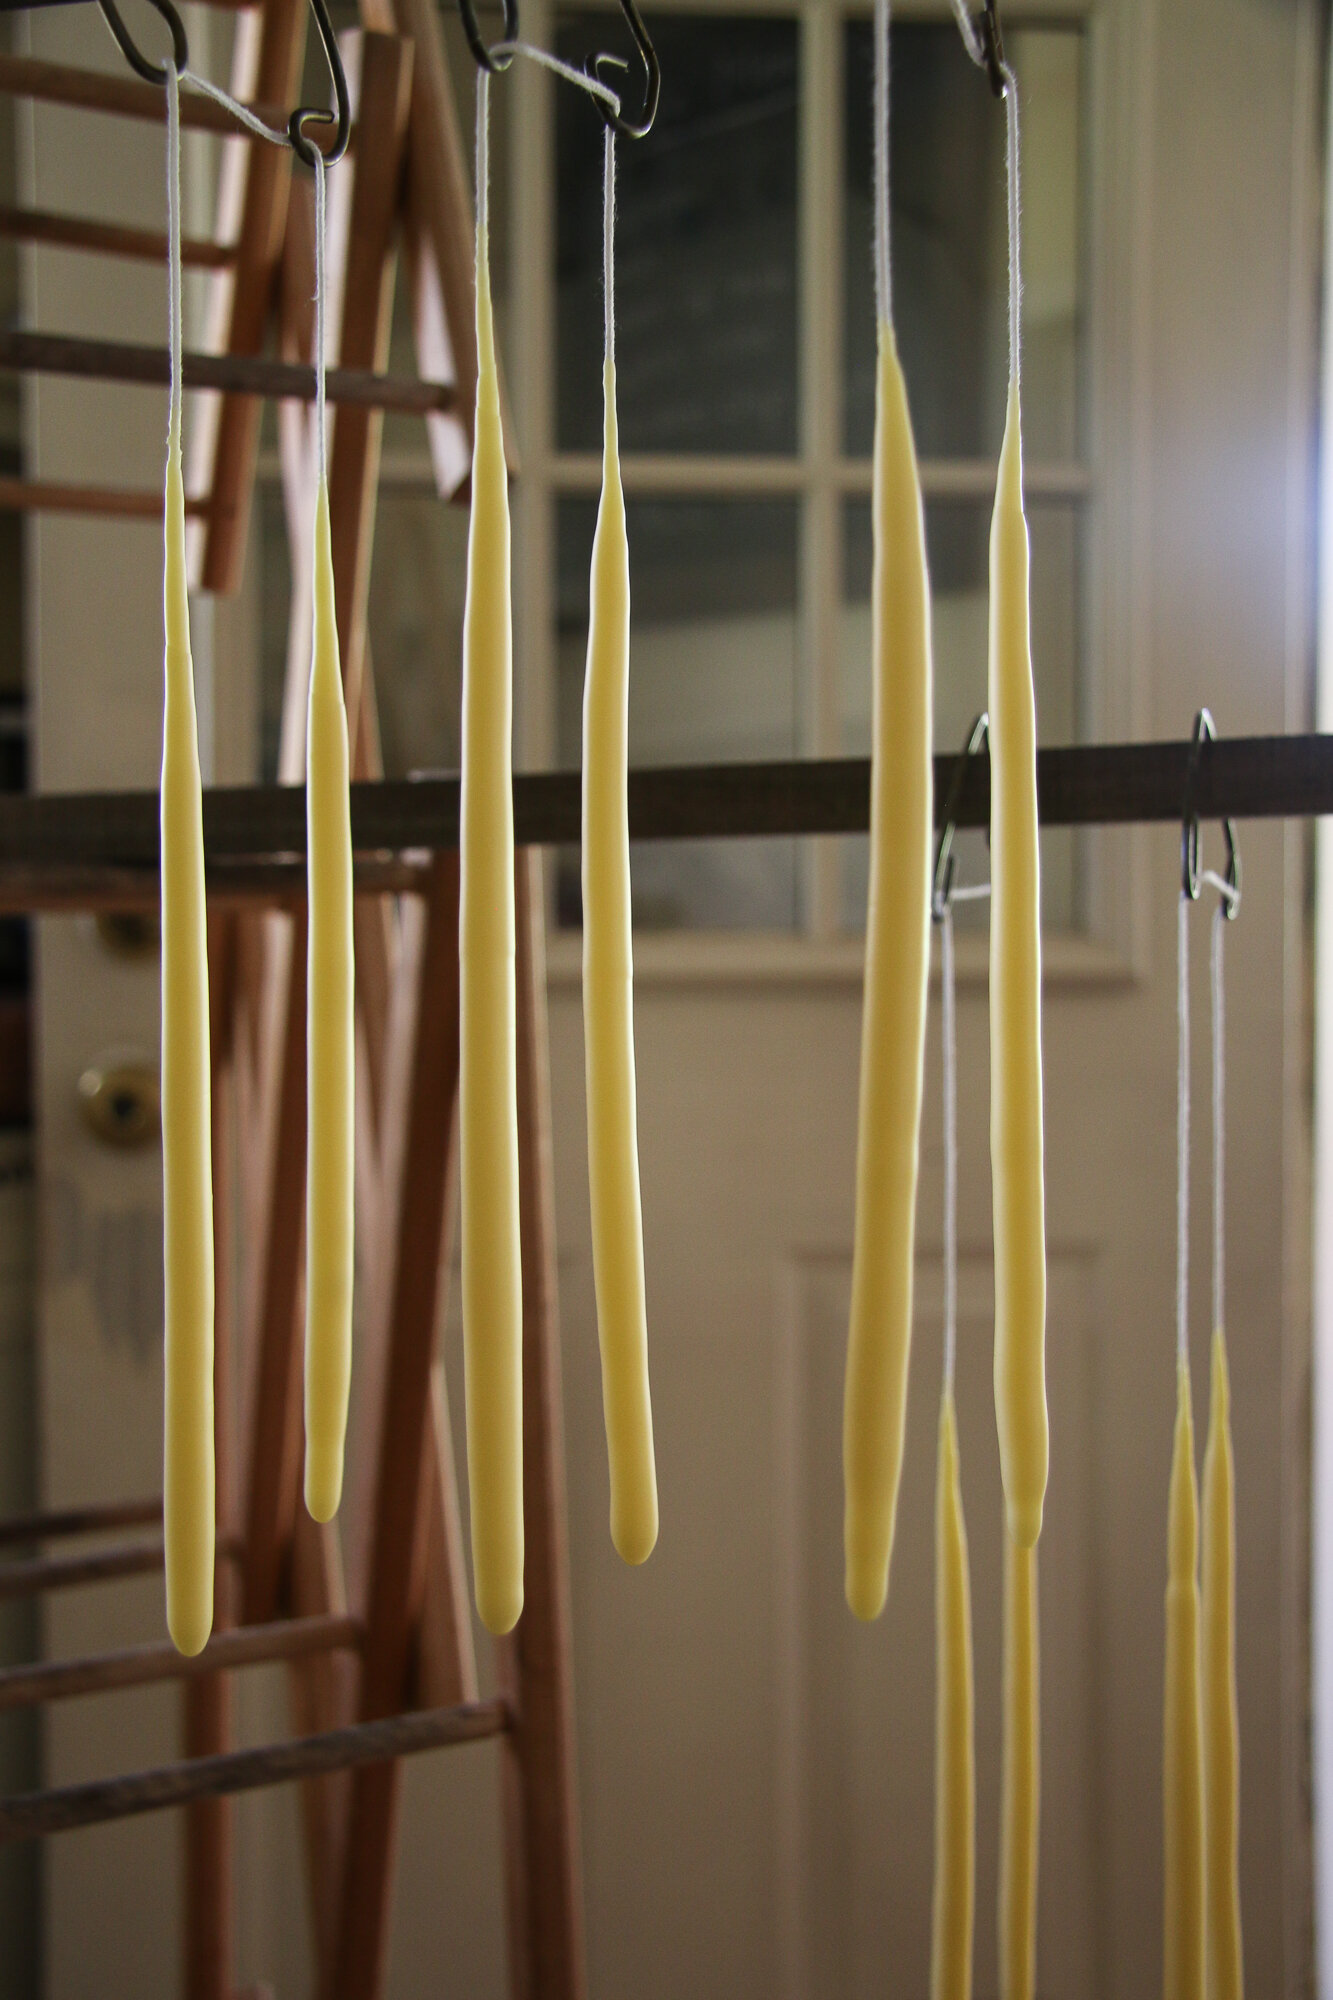
You’ll need some kind of a rack for drying taper candles. You can get creative with a laundry drying rack or a coat rack. A drying rack for handmade pasta would also double as a candle drying rack.
Make metal rigs for dipping taper candles in pairs. I made mine out of old clothes hangers with wire cutter and a pair of pliers.

Lastly: wax is a real pain to clean. Do yourself a favor and protect counters and any other surfaces with newspaper or brown packaging paper. (For cleaning up any spills or utensils with wax on them, paper towels dipped in olive oil seem to work best.)
Now you’re ready to begin!
Hand-dipped Taper candles
Prepare your wicks. Cut a length of wicking — it needs to be at least twice the length of the desired length of your taper candles.
Each end of the wicking needs to be weighted with something initially to keep the wick straight. The weight can be any cheap metal object such as a screw, a nail, or a nut. Don’t use anything you value because it’s going to be forever encased in beeswax!

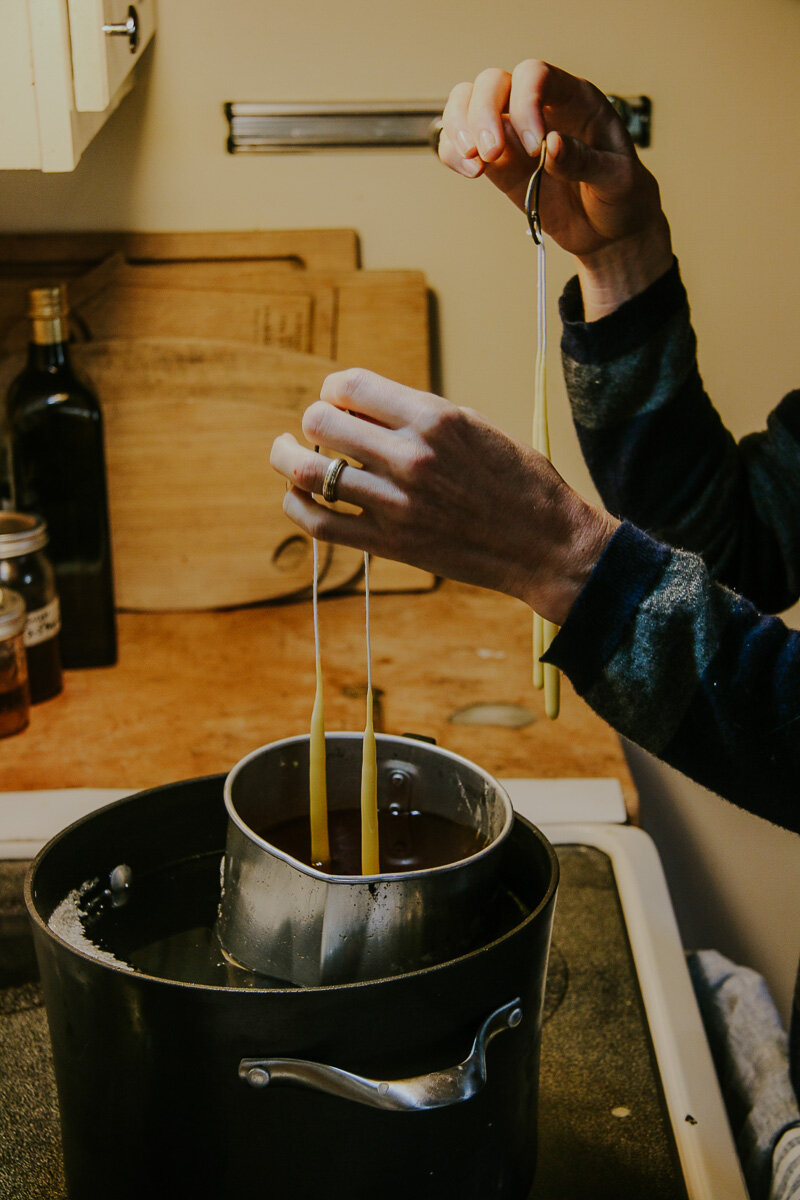
Slide the wicking through your rigs so you can dip two tapers at once.
Set up your double boiler (pouring pitcher inside a large pot filled with water) to melt your wax. You want all the wax to melt before you start dipping. Keep an eye on the temperature and consistency of the wax. The ideal temperature for dipping tapers is about 165F. If its’ too hot, the wax will just melt off the wicks. Too cool, the wax forms wrinkles on the candles when you dip them. Finding the Goldilocks temperature of “just right” may require sometimes taking the dipping vat off the burner or out of the pot completely.

Dip your tapers. Allow several minutes to cool, then repeat. The dipping motion should be slow and steady.
About halfway through the process, cut the weights off, and then dip a few more times.
Repeat until you reach a desired thickness.
Pillar candles
Usually I make two dozen taper candles and then use the remaining wax to make pillar candles.
Before pouring the wax into molds, you need to add some stearic acid to your wax. The stearic acid hardens the candle and makes the wax shrink just a little, which makes it easier to slide the candle out of the mold once it has set.
Add stearic acid at a rate of 3-6 tbsp per pound of wax.
Next, prepare the mold: Thread the wick through the wick hole at the base of the mold. This can be a somewhat maddening task. If the wick end gets frayed, try dipping the end in melted wax and forming a pointed end with your fingers. Tie a small, tight knot at the base just outside the wick hold.
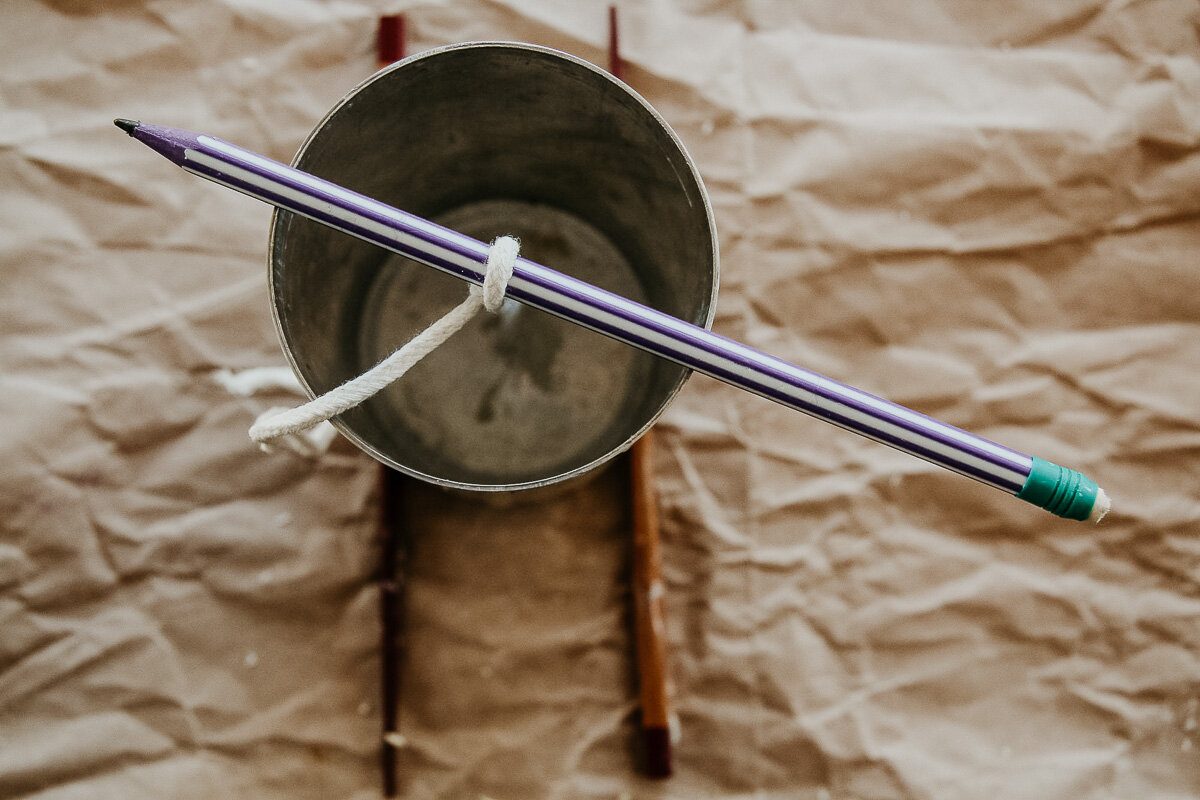
Secure the top of the wick by tying it to a pencil or a skewer on top of the mold.
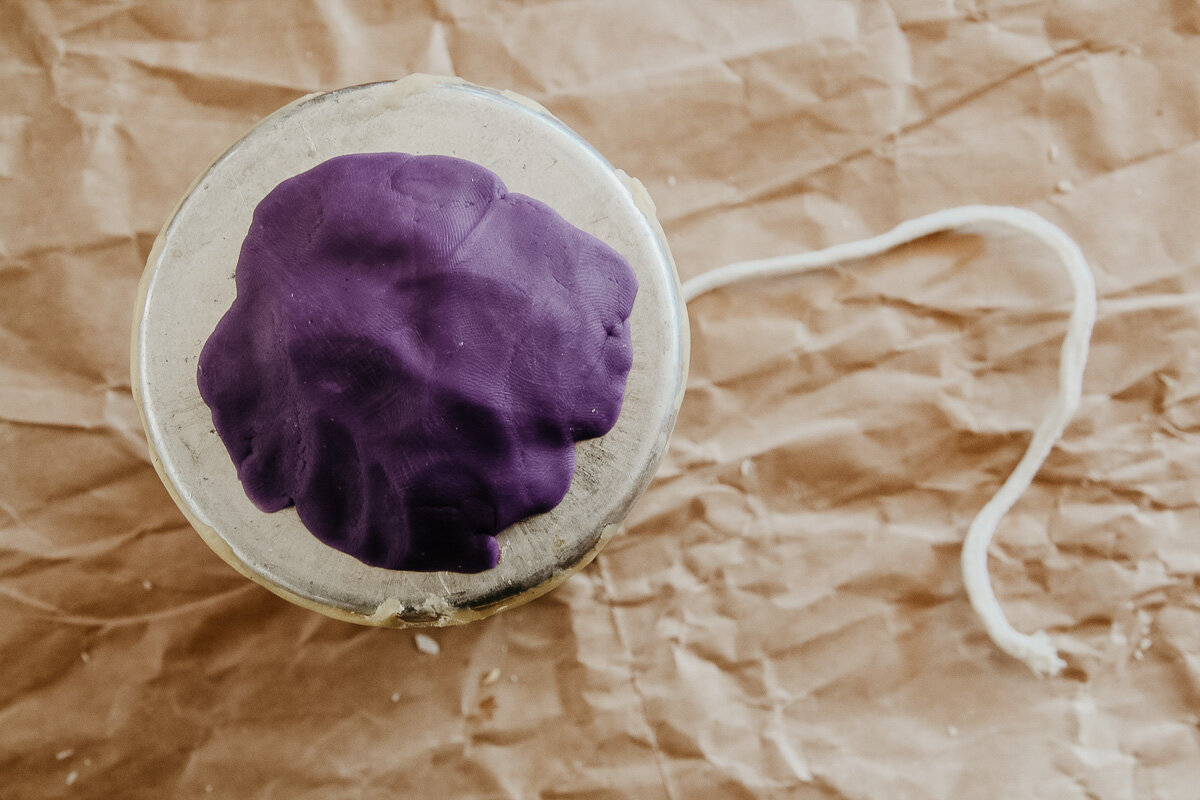
Seal the wick hole on the bottom with mold seal to prevent leakage of the molten wax when you pour it into the mold. I have used QuakeHold Museum Putty or, in a pinch, Play-Doh (pictured here). Press it firmly into place.
Once the stearic acid combo has melted into the wax, pour the wax into your prepared mold. Let cool completely before proceeding to the next step. This can take a few hours or even a day for very large candles.
Remove the mold sealer and cut the knot at the base of the candle. If it’s completely cooled, your candle should slide out of the mold when you turn it upside down. If it doesn’t, try placing it in the fridge for 20 minutes — the cold will further shrink the wax.
Trim the wick to desired length. Your pillar candle is done!