Beginner’s Loom Weaving
Years ago, my friend Regina told me: “You do know you’re going to end up weaving on a loom one day, don’t you?” It wasn’t unreasonable, given that I’d tried just about every other fiber craft apart from loom-weaving. But I insisted that I would leave weaving to others — after all, we don’t even have the space for a loom.
But, it turns out, you don’t need an entire spare room for a floor loom to start weaving. You don’t even need a floor loom, in fact. When I saw that Taito, a local crafts organization offered an online course in rigid heddle loom weaving, and even lent the loom to participants, I signed up in under one minute. A rigid heddle loom fits on a table or on your lap. It’s portable and affordable (as far as looms go). In other words, it’s awesome.
So this fall, I finally became a weaver. In August and September, when my husband was recovering from an arm surgery and I was managing all the responsibilities of family life, the weaving was my therapy. Once you get into the flow, weaving is a grounding, soothing activity that allows the mind and the body to quieten and rest.
The rigid heddle loom, and the ability to rent it, lowered the threshold of getting started enormously. That’s what I would recommend to any other curious beginner out there. Setting up the loom is much less complicated than building the warp on a floor loom. At this early stage, I did not employ any advanced techniques. I learned to weave a basic scarf, from start to finish.
Here are the basic steps of weaving cloth.
Designing the project

I have almost no experience in actual textile design. The possibilities are limitless: every choice in materials, colors, and techniques alters the end result. Where does one even start?
I found it most helpful to simply look at a lot of examples (online) to help guide my thinking process. I decided to go with a simple checkered scarf, simply because I saw an example of one that I liked, and figured I could use those same measurements. The measurements of my finished scarf are 180 x 35 cm. The design stage involves some basic math: you have to calculate how much yarn you will need.
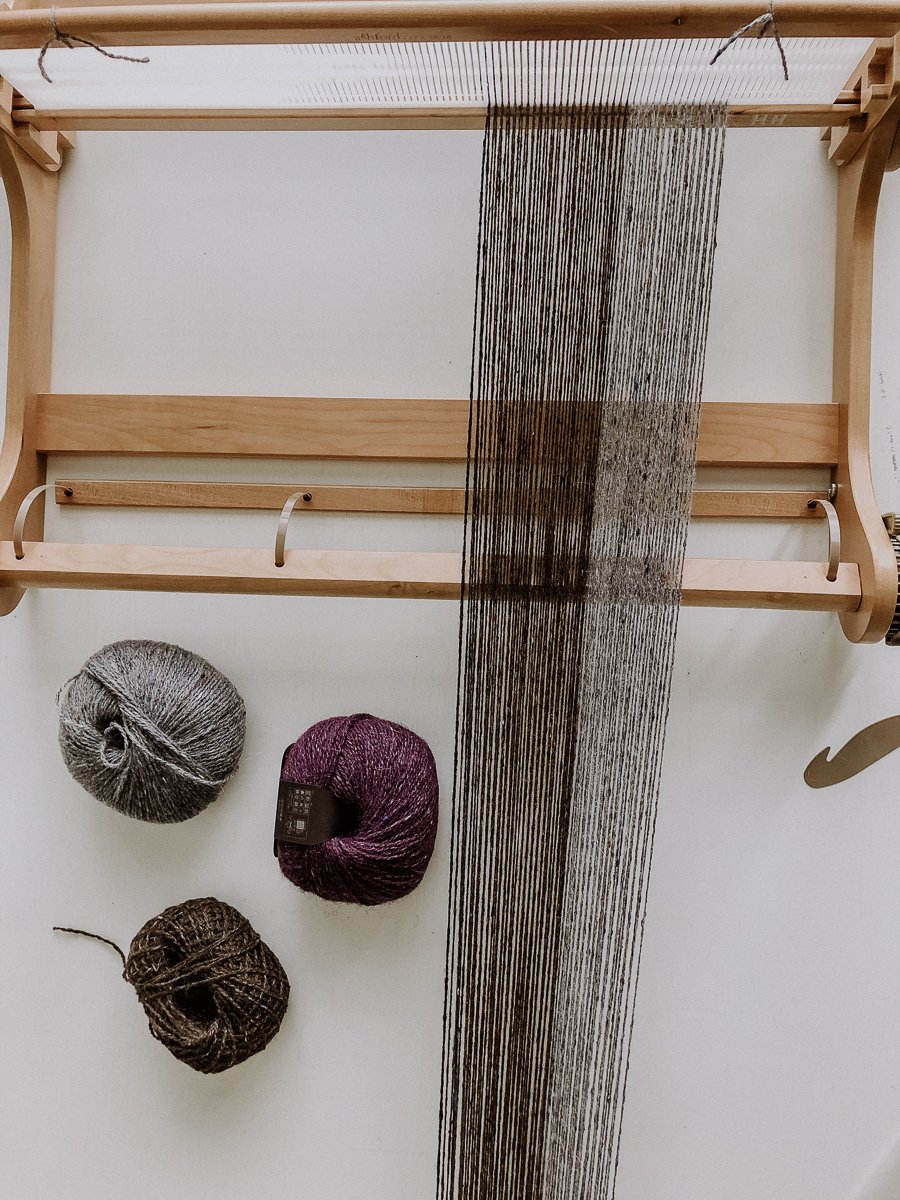
Since I’m not an expert on color theory, I went with a feeling I wanted to create for this scarf. The inspiration was the Finnish forest landscape: the browns of spruce tree trunks, the bright greens of moss, the purple of bilberries, and different shades of blue for the waters of lakes and creeks.
I chose Rowan Felted Tweed yarns, which have a lovely, textured tweed feel, and a range of my favorite colors.
2. Building the warp
Warp and weft are the two components that turn thread into fabric. The warp consists of the lengthwise yarns, held in tension on a frame or a loom. The transverse weft yarn is then woven in, over-under-over the weft yarn. This is what creates the resulting pattern of the fabric. Look at almost any fabric and you’ll see the tiny threads criss-crossing and intersecting in this way.
The warp yarns or threads have to be strong because they need to be stretched. I ended up using the Rowan Felted Tweed yarns for both the warp and the weft. I had exactly one instance in which a warp yarn broke.
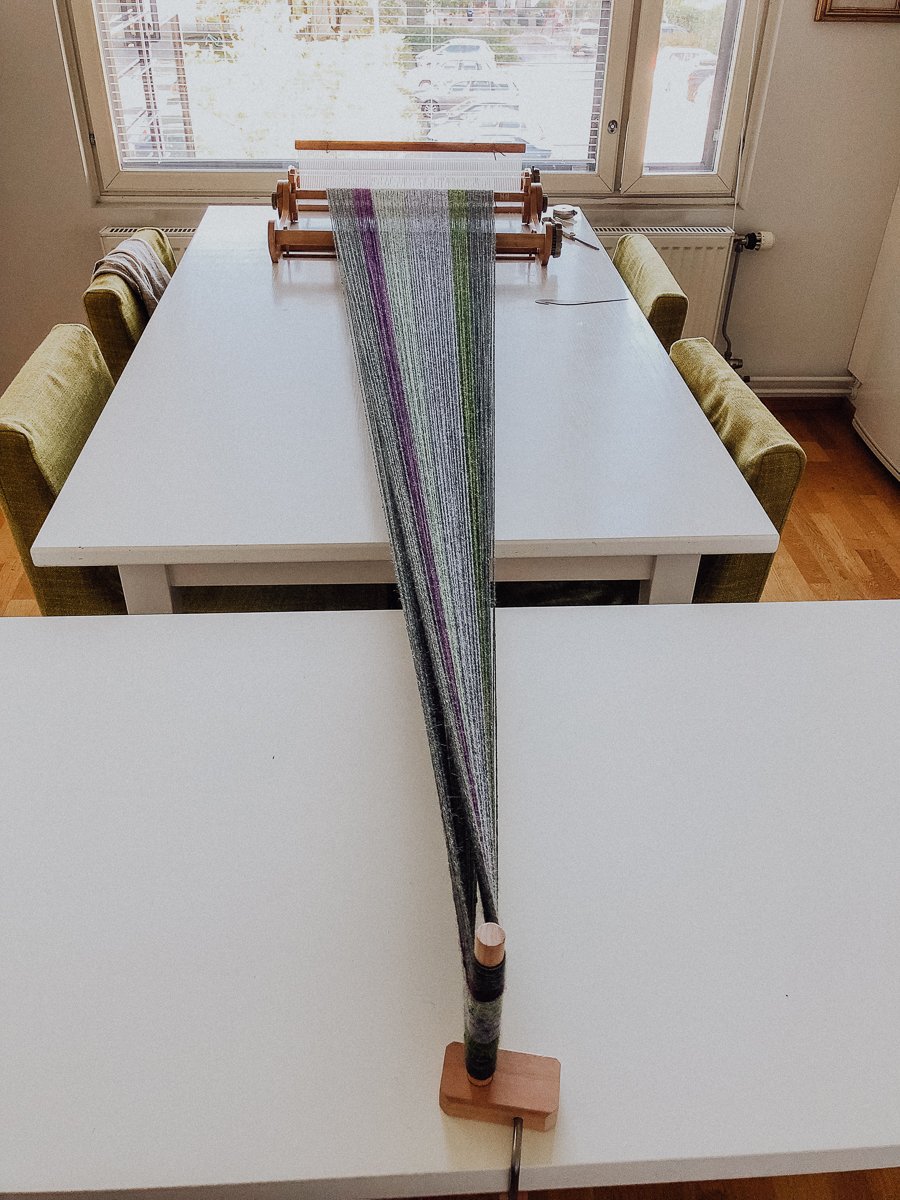
Using a threading hook, you pull the warp yarns through the series of slots on the reed, which keeps them in place. At the other end, the yarns are looped around a warping peg (shown in the second photo below). The length of the warp determines the length of the finished cloth (in this case, a 180 cm long scarf). I needed two tables next to each other to be able to attach the warping peg far enough.
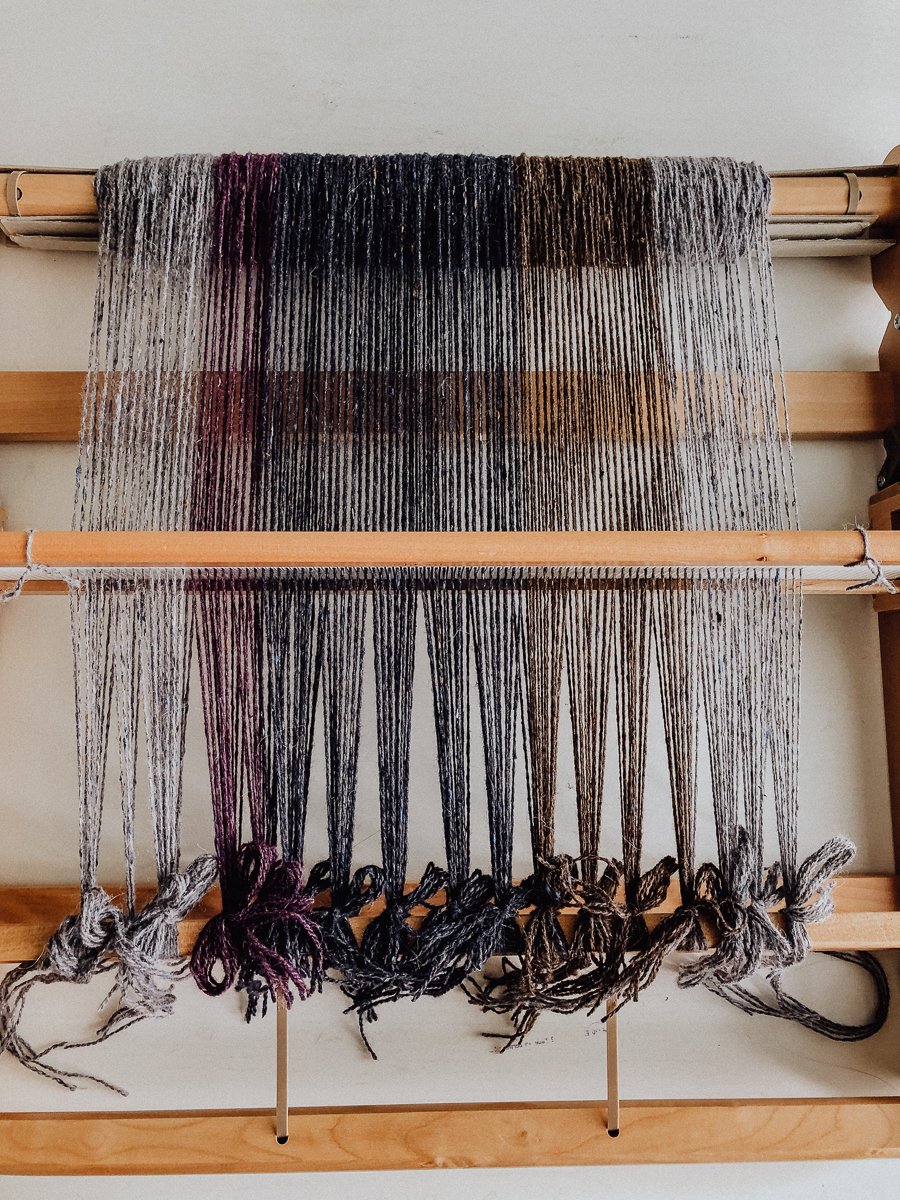
Then you cut the warping yarns at the warping peg end and, using the back roller on the loom, start winding the warp yarns onto the roller.
Then every other warp yarn is pulled through a secondary hole on the reed so that, when the reed is lifted and lowered during weaving, it creates alternate openings.
Then the front ends are tied to the front warp stick. The warp is finished!
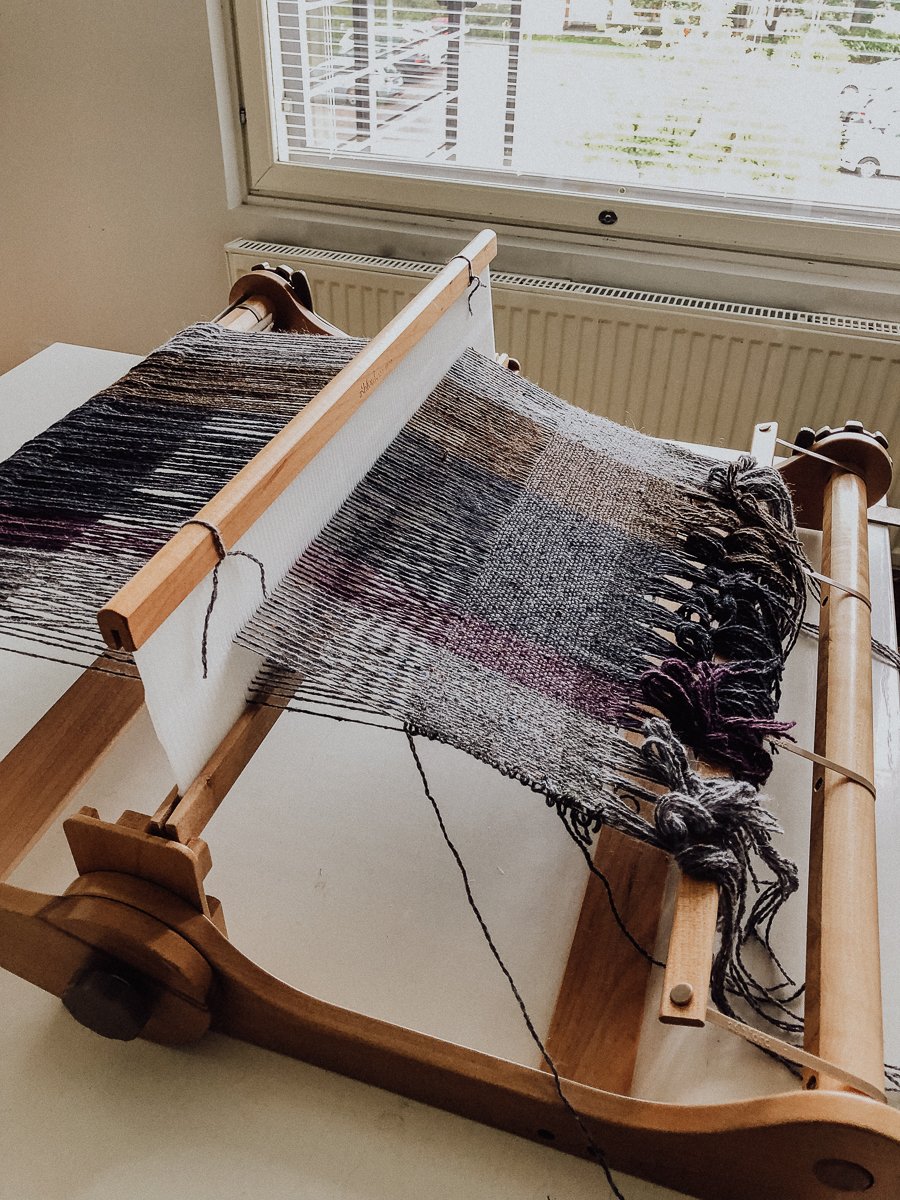
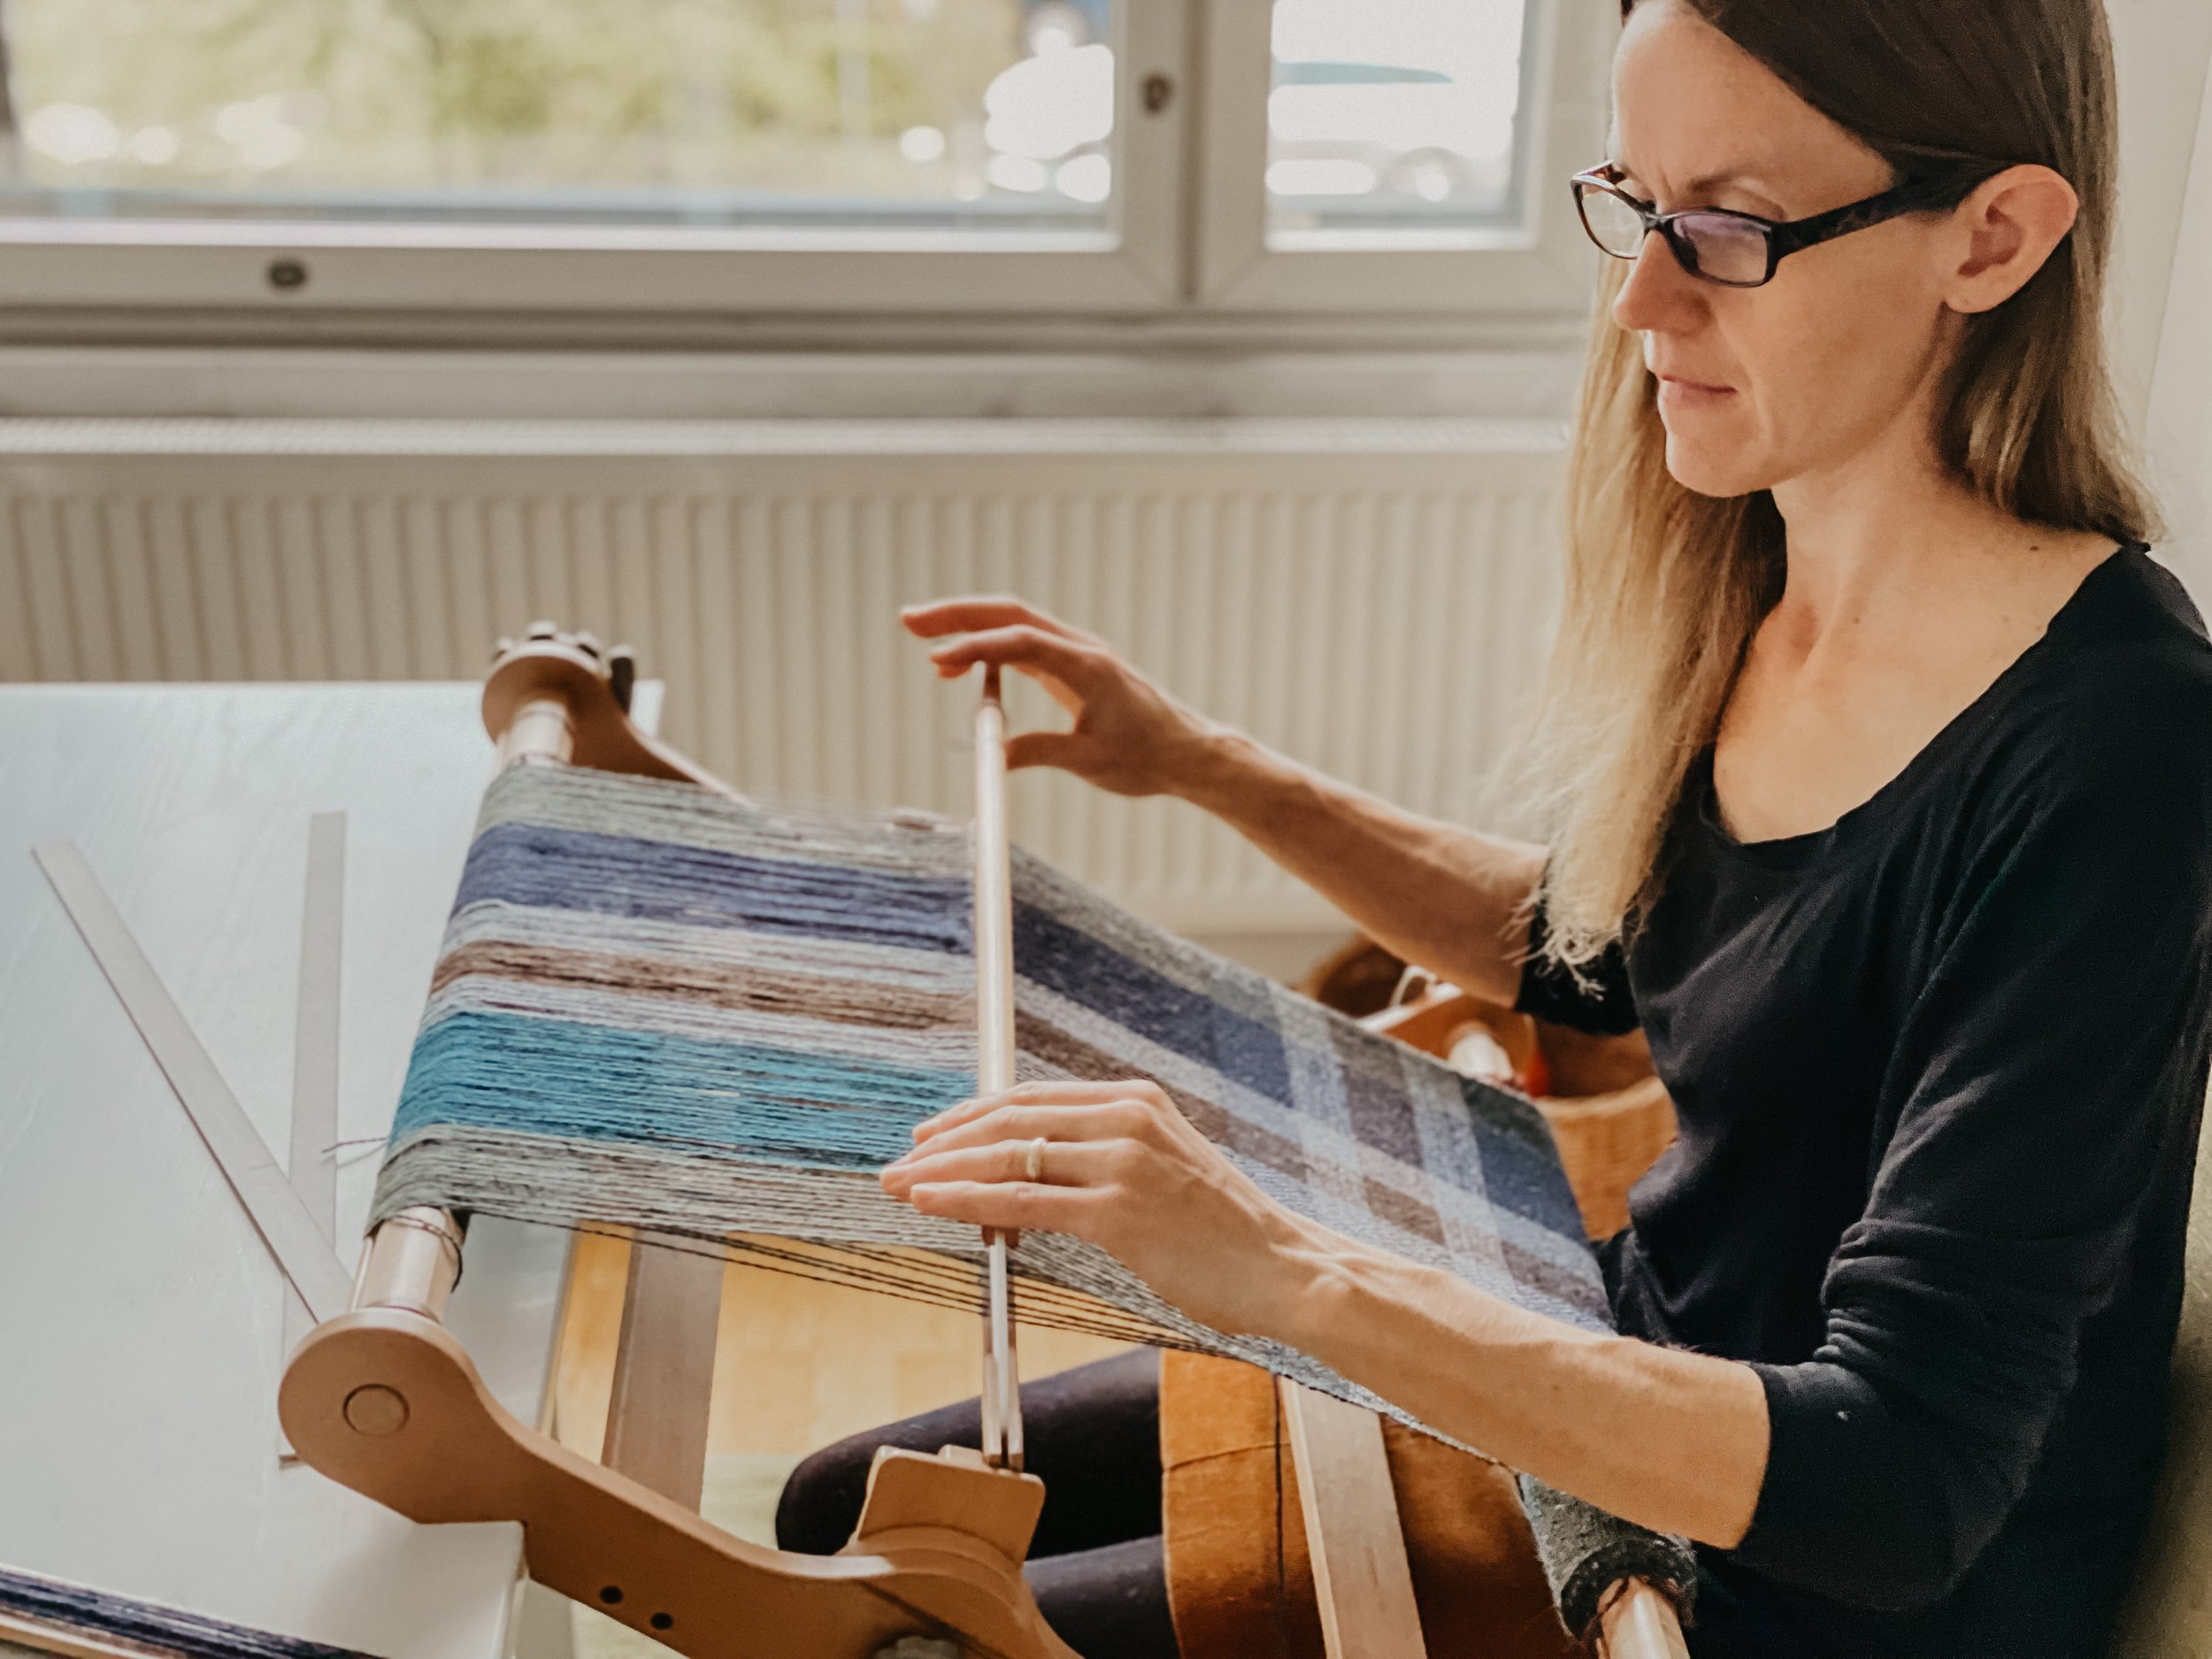
3. Starting weaving
Honestly, the weaving is the easy part. Once the warp is set up, all weaving is is passing the shuttle from one side to the other, at most adjusting the tension or choosing a new color.
This is the part where, once you get into a rhythm, weaving becomes a soothing and almost meditative experience of flow, that relaxed yet attentive focus on the present moment and the task at hand.
Scroll down for a short video, and hopefully you’ll see what I mean.


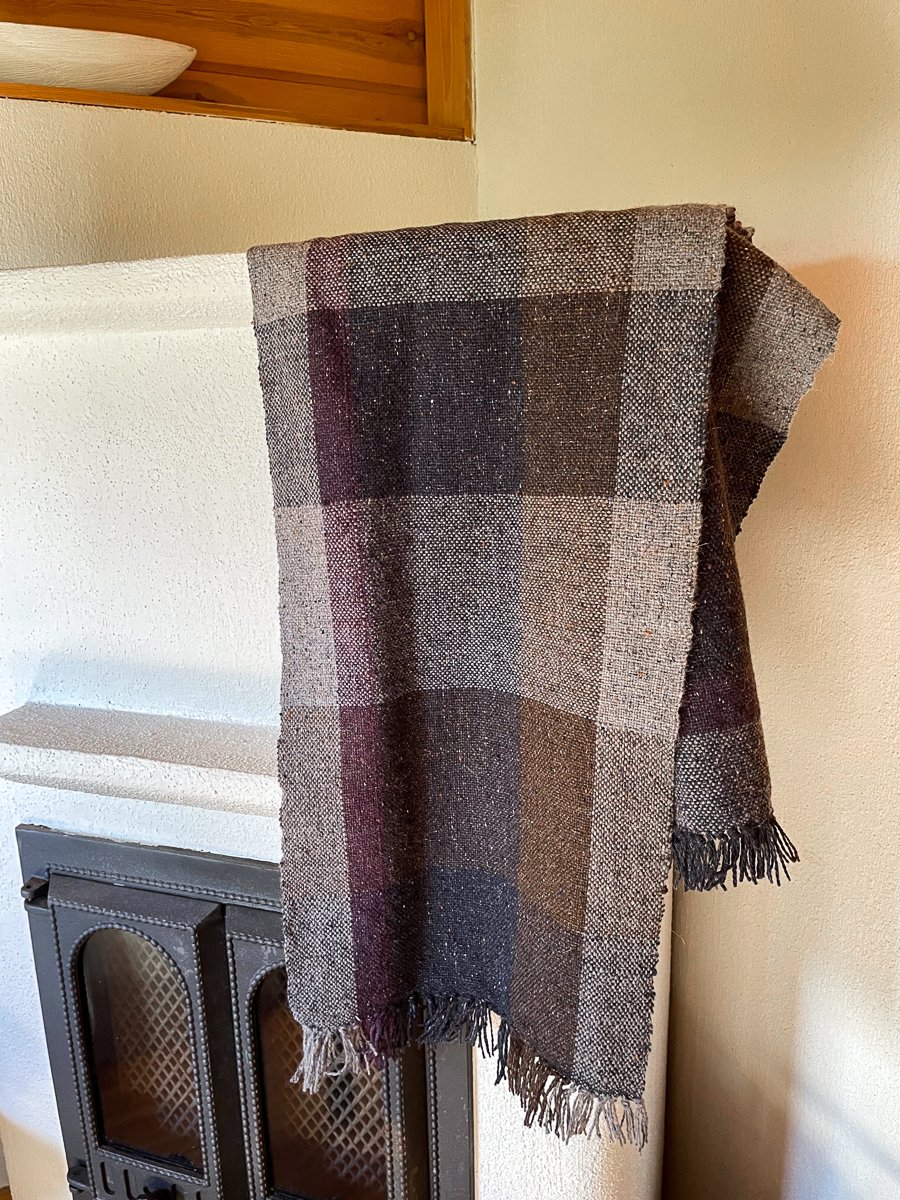
4. The finished scarf
Finishing the weaving project, like the actual weaving, is also really simple. When you run out of warp yarns, you simply cut them at the ends and unwind your finished cloth off the back roller. It’s an exciting moment. You can see all those bands of color you’ve woven in, all together now, the result of many many hours of work.
All that’s left to do is tying up any loose ends, quite literally: you tie the ends in groups of 4 or 5 yarns. There are a few different knots and twists to create a beautiful fringe.
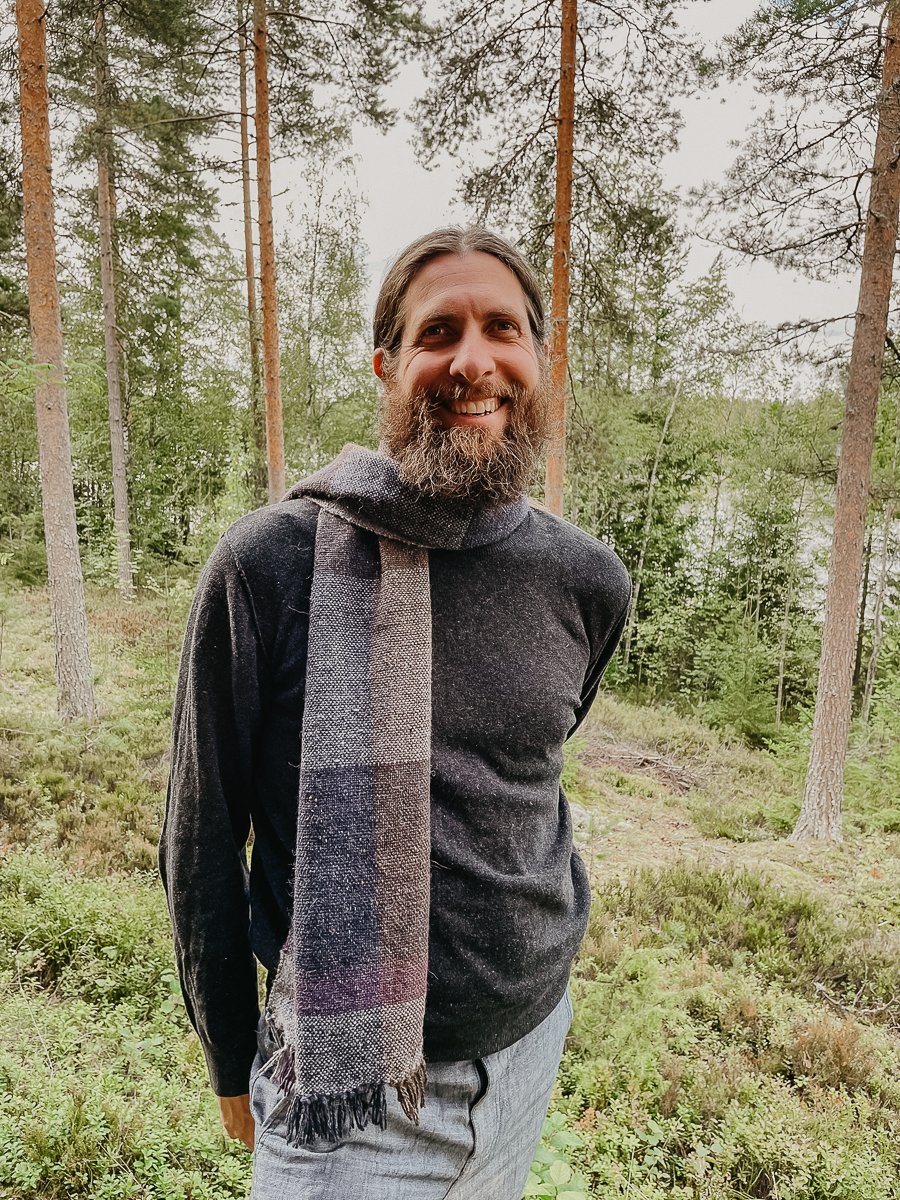
The scarf was my birthday present for my sweetheart. He got to inaugurate it during our weekend at my parents’ cottage, in the midst of the very landscape that inspired this scarf.